How to Brine Chicken Breast for Juicy Results
I love juicy chicken, and I’ve searched far and wide for the best way to make it. Then, I found brining. It’s a simple trick that makes chicken breasts incredibly juicy and flavorful. I’m thrilled to share this secret with you today.

Table of Contents
Understanding the Science Behind Brining
Brining chicken breasts makes them juicy and tender. It works by using osmosis and diffusion. By soaking the chicken in a chicken brine recipe, you improve its moisture and texture.
How Salt and Water Transform Chicken
Salt molecules in the brine change the chicken. They denature proteins, letting the meat soak up more water. This makes the chicken juicier and more tender.
The Chemistry of Moisture Retention
The salt in the brine also softens the chicken’s muscle fibers. This makes the meat tender. The brine keeps the meat from losing moisture during cooking.
Why Brining Makes Meat Tender
Brining does more than just keep meat moist. The salt breaks down tough fibers, making the chicken tender. This is why brining is great for making chicken brine recipe and how to brine chicken for juicy meat.
| Brining Time | Flavor and Texture Impact |
|---|---|
| 1 hour | Mildly salted flavor, no noticeable texture or juiciness changes |
| 2 hours | Mildly salted flavor, slightly improved tenderness and juiciness, especially in breast meat |
| 4 hours | Perfectly seasoned, significantly increased juiciness and tenderness across all parts |
| 6 hours | Well-seasoned, possibly too salty for some, increased tenderness and juiciness |
| 8 hours | Often too salty, improved tenderness and juiciness |
The best brining time for chicken breasts is 4-6 hours. This gives the best flavor, tenderness, and juiciness.
“Brining helps the chicken retain moisture during cooking by disrupting the protein structure of the meat, allowing it to absorb more water.”
Essential Ingredients for Perfect Chicken Brine
Making a tasty brine for chicken breasts is easy and changes the game. You need just two main things: water and salt. Use 4 cups of cold water and 4.5 tablespoons of Morton’s kosher salt or 3 tablespoons of fine salt.
To make the brine even better, you can add some extra ingredients. Some favorites include:
- Peppercorns
- Crushed garlic
- Fresh herbs like rosemary, thyme, or sage
- Bay leaves
- Whole cloves
For a stronger garlic taste, add 1 tablespoon of garlic granules. This small change can greatly improve the taste of your brine solution for chicken or chicken breast marinade.
| Ingredient | Quantity |
|---|---|
| Cold Water | 4 cups |
| Morton’s Kosher Salt | 4.5 tablespoons |
| Fine Salt | 3 tablespoons |
| Peppercorns | Optional |
| Crushed Garlic | Optional |
| Fresh Herbs (rosemary, thyme, sage) | Optional |
| Bay Leaves | Optional |
| Whole Cloves | Optional |
| Garlic Granules | 1 tablespoon |
Knowing the key ingredients and their roles in brining can help you make juicy, tasty chicken breasts every time.
Basic Brine Formula and Measurements
Brining your chicken makes it juicy and flavorful. The secret is the right salt-to-water ratio. Mix 4 cups of cold water with 6 tablespoons of Diamond Crystal kosher salt or 4.5 tablespoons of Morton’s kosher salt. For fine table salt, use just 3 tablespoons.
Salt-to-Water Ratio Guide
- 4 cups cold water
- 6 tablespoons Diamond Crystal kosher salt
- 4.5 tablespoons Morton’s kosher salt
- 3 tablespoons fine table salt
Types of Salt for Brining
The type of salt you choose matters in brining. Kosher salt is best because its large crystals dissolve well. This shape helps distribute salt evenly in the brine.
Optional Flavor Enhancers
Start with the basic brine, then add extra flavors. Try garlic powder, dried herbs like rosemary or thyme, or a bit of citrus juice or zest. These can make your chicken taste even better. Experiment with different combinations to find your perfect blend.
“Brining is a game-changer in the kitchen. It transforms even the blandest cuts of chicken into juicy, flavorful masterpieces.”
How to Brine Chicken Breast
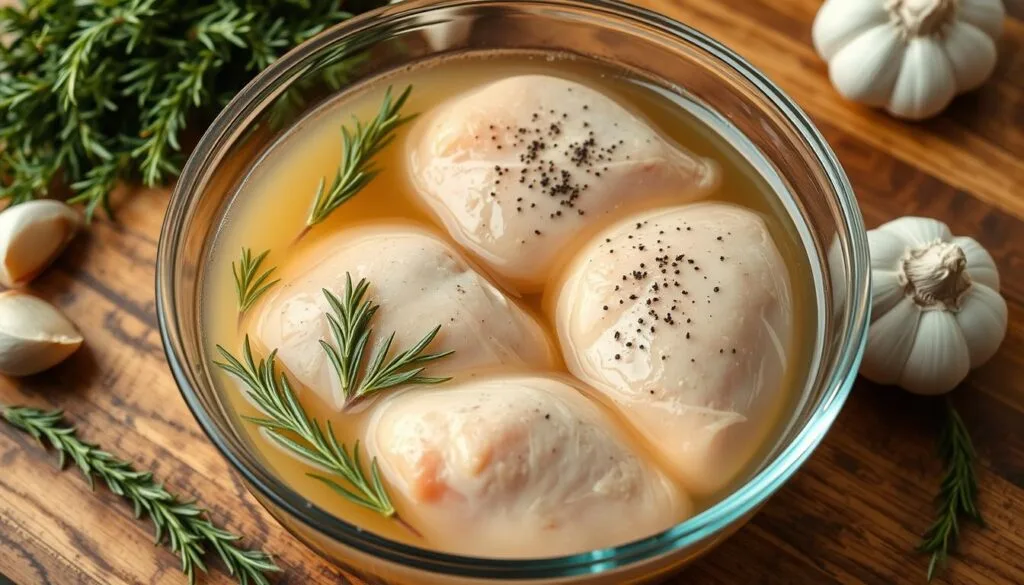
Brining chicken breasts before cooking makes them juicy and flavorful. This method, known as wet brining chicken, involves soaking the meat in a saltwater solution. It changes the meat on a molecular level, making your chicken dishes better.
- Begin by mixing salt into cold water. Use 3 cups of water with 2 tablespoons of kosher salt or 1 tablespoon of pink Himalayan salt.
- You can add flavor enhancers like garlic powder, brown sugar, black peppercorns, or fresh herbs like rosemary and thyme.
- Make sure the chicken breasts are fully covered in the brine. For longer brining times, refrigerate the mixture.
- After 40 minutes to 1 hour, take the chicken out of the brine. Pat it dry with paper towels. Don’t rinse it to avoid spreading bacteria.
- The brined chicken is ready to cook or can be stored in the fridge for up to 3 days.
Brining is like an insurance policy for your cooking, especially during Thanksgiving. It keeps the meat juicy and flavorful, even with lean cuts like chicken breasts. The brining chicken before cooking method greatly improves the texture and taste of your dish.
Warm vs Cold Brine: Which Works Better?
The temperature of the brine matters a lot when brining chicken. Both warm and cold brines can make chicken more moist and flavorful. But, research shows cold brine is better for chicken breasts.
Temperature Impact on Results
Studies found that cold tap water makes chicken breasts tender and juicy. Cold water lets the brine soak into the meat better. This means the chicken gets more flavor from the inside out.
Warm water, on the other hand, can make the chicken’s surface expand. This makes it harder for the brine to get inside. So, the chicken might not be as evenly seasoned or juicy.
Safety Considerations
Food safety is key when brining chicken. If brining goes over 30 minutes, refrigerate the chicken to stop bacteria growth. Cold tap water is safest for brining to avoid bacterial risks.
Choosing between warm or cold brine for chicken breasts depends on taste and texture. Science backs up cold brine for the best-tasting chicken.

“The key to achieving delicious, juicy chicken breast recipes lies in understanding the brining process and its impact on tenderness and flavor.”
Optimal Brining Times for Chicken Breasts
Brining chicken breasts makes them juicy and flavorful. But, finding the right brining time is key. The best time is usually between 30 minutes and 1 hour.
A 15-minute brine adds a light salt taste without changing the chicken’s texture. Brining for 30 minutes makes the meat slightly tender and seasoned. The best result comes from brining for 30 minutes to 1 hour.
| Brining Time | Result |
|---|---|
| 15 minutes | Lightly salted flavor, no texture change |
| 30 minutes | Slightly more tender and seasoned meat |
| 30 minutes to 1 hour | Perfectly seasoned, juicy, and tender chicken |
| 2 hours or more | Overly salty meat and altered texture |
Brining for more than 2 hours can make the meat too salty and mushy. So, it’s best to stick to 30 minutes to 1 hour for the best how to brine chicken breast results.
“Brining is a simple yet powerful technique that can transform even the most modest cuts of meat into something truly remarkable.”
Common Brining Mistakes to Avoid
Brining chicken breasts can make them juicy and flavorful. But, it’s important to avoid common mistakes for a successful brining experience. Let’s look at some key mistakes to avoid when brining chicken breasts or making the perfect chicken brine recipe.
Oversalting Prevention
One big mistake is oversalting the chicken. To avoid this, follow the recommended salt-to-water ratio and brining time. Brining for more than 2 hours can make the chicken spongy and too salty. So, stick to the suggested guidelines for the best results.
Container Selection Tips
Choosing the right container is key when brining chicken. Use food-safe containers or resealable plastic bags that can fully cover the chicken. Make sure the chicken is fully submerged to prevent uneven brining. Also, never reuse brine to avoid bacterial contamination.
After brining, pat the chicken dry instead of rinsing it. Rinsing can spread bacteria and ruin the crisp, flavorful skin you’ve worked hard to get.

By avoiding these common mistakes and following best practices, you’ll brine chicken breasts that are juicy, tender, and full of flavor. Enjoy the delicious results of your hard work!
Storing and Freezing Brined Chicken
Brining chicken makes it juicy and flavorful. Now, you need to store and freeze it right. This keeps the chicken delicious, whether you cook it now or later.
Refrigerating brined chicken is good for a few days. You can keep chicken breasts or thighs in the fridge for up to 3 days. This lets you prepare the brine ahead of time.
To store it longer, freeze the chicken for up to 6 months. The brine stays in the meat, keeping it juicy. Wrap the chicken tightly in plastic or aluminum foil to avoid freezer burn. Thaw it in the fridge before cooking.
| Storage Method | Maximum Storage Time |
|---|---|
| Refrigerator | 3 days |
| Freezer | 6 months |
Storing chicken right is key to keeping it tasty. Whether you cook it soon or later, these tips will help. Your brined chicken will stay fresh and flavorful.
“Brining chicken is a game-changer for juicy, tender results every time. Mastering the storage process ensures you can enjoy those benefits for weeks or even months to come.”
Cooking Methods for Brined Chicken
Mastering wet or dry brining your chicken breasts is just the start. Now, it’s time to explore different cooking methods to enhance your chicken’s flavor and juiciness. You can bake, grill, pan-fry, or air fry your brined chicken breasts. The options are endless.
When cooking brined chicken, don’t add extra salt to your recipe. The brining process has already seasoned the meat perfectly. Also, brined chicken cooks faster. So, adjust your cooking times to avoid overcooking.
Brined chicken is great for many dishes like parmesan-crusted chicken, lemon pepper chicken, and sandwiches. You can cook it in the oven, on the grill, or in a skillet. No matter the method, your brined chicken will be tender, juicy, and full of flavor.

