Apple Pie Filling Canned A Simple Guide to Homemade Convenience
As leaves turn golden and the air gets crisp, the smell of apple pie fills the kitchen. It takes us back to cozy autumn afternoons. But what if you could enjoy that flavor all year? Making your own apple pie filling is the solution, letting you enjoy autumn’s taste anytime.
In this guide, we’ll dive into canning apple pie filling. You’ll learn how to make a homemade treat that will make your desserts better. We’ll cover picking the right apples and the canning process. You’ll see how easy it is to keep the season’s best flavors for months.
Table of Contents
Understanding the Benefits of Homemade Canned Apple Pie Filling
Homemade canned apple pie filling has many benefits. It’s cheaper than store-bought, available all year, and lets you control the quality. This makes it a great choice for anyone who loves baking.
Cost-Effective Preservation Method
Making your own apple pie filling can save money. It’s especially good when you have lots of apples or get them on sale. This way, you can enjoy homemade pie filling all year without spending a lot.
Year-Round Availability
Homemade canned apple pie filling lets you enjoy autumn’s apples all year. The canning process keeps the filling fresh and tasty. So, you can make delicious pies and desserts whenever you want.
Quality Control and Ingredients
When you make your own apple pie filling, you choose what goes in it. You can pick the spices, sweetness, and types of apples you like. This way, you avoid preservatives and additives found in store-bought versions, making it healthier.
“Homemade canned apple pie filling allows me to recreate the flavors of my grandmother’s famous apple pie year-round. I love being able to control the ingredients and create customized batches to suit my family’s tastes.”
Homemade canned apple pie filling is great for saving money, reducing waste, or just enjoying homemade baking. It’s a versatile and rewarding option to try.
Essential Equipment and Supplies for Canning
Canning your own apple pie filling at home is rewarding and saves money. It lets you enjoy fall flavors all year. Before starting your canning apple pie filling recipe, you need the right tools. This ensures your process is safe, efficient, and delicious.
You’ll first need a water-bath canner with a rack. This pot lets you boil jars to seal them properly. You’ll also need canning jars, lids, and bands to store your pie filling convenience.
For preparing apples, get a paring knife, apple peeler, and large bowls. These tools help peel, core, and slice apples easily. You’ll also need a bubble remover and jar lifter for handling hot jars.
To can successfully, use two stock pots. One for blanching apples and another for the filling. Using quart-size jars is best, as two quarts fill a 9-inch pie.
Having all the right equipment and supplies ready will help you make tasty, pie filling convenience. Enjoy it for months to come.
“Proper equipment is crucial for safe and successful canning. Essential items include a water-bath canner, jars, lids, bands, bubble remover, jar lifter, and funnel.”
Selecting the Perfect Apples for Canning
Choosing the right apples is key for a delicious apple pie from canned filling or canned fruit filling. The variety and ripeness greatly affect taste and texture. Here are some tips to pick the best apples for your pie filling.
Best Apple Varieties for Pie Filling
Not all apples are good for canning. Some keep their shape and flavor better. The article suggests these apple types for your canned fruit filling:
- Granny Smith – Tart and firm, these apples are a classic choice for pie filling.
- Honeycrisp – With a sweet-tart balance and crisp texture, Honeycrisps are an excellent option.
- Braeburn – These apples offer a robust, complex flavor that holds up well during canning.
Try mixing different varieties for unique flavors in your apple pie from canned filling.
Ripeness and Quality Guidelines
Choose fresh, crisp, and blemish-free apples for canning. Avoid soft, bruised, or damaged apples. The best apples are ripe but firm, keeping their shape and texture in the canned fruit filling.
Seasonal Considerations
The best time to can apples is in the fall. This is when they are freshest and most flavorful. Canning in autumn lets you enjoy homemade apple pie from canned filling all year.
Apple Pie Filling Canned: Step-by-Step Process
Canning your own apple pie filling at home is rewarding and practical. It’s great for preserving your apple harvest or having homemade filling all year. Here’s a step-by-step guide to canning delicious apple pie filling.
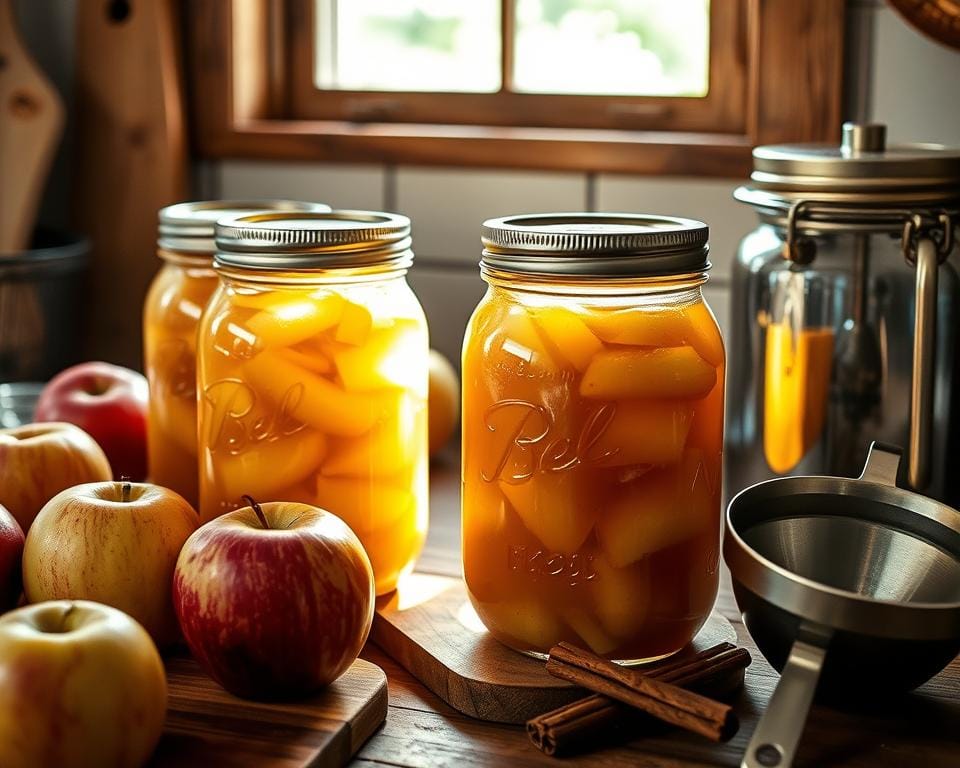
- Gather your equipment: You’ll need a water bath canner, mason jars with new lids and rings, a ladle, a funnel, and a jar lifter.
- Peel, core, and slice 8 pounds of Granny Smith apples using a peeler/slicer/corer tool, which should take approximately 10 minutes.
- Prepare the apple pie filling mixture by combining 8 cups of apple juice, 4 1/2 cups of granulated sugar, 1 1/2 cups of clear-jel, 2 tablespoons of cinnamon, 2 tablespoons of lemon juice, 1 teaspoon of salt, and 1/4 teaspoon of nutmeg. Cook the mixture for 5-10 minutes, stirring frequently, until it thickens to your desired consistency.
- Ladle the hot apple pie filling into the prepared jars, leaving a 1-inch headspace. Remove any air bubbles and wipe the rims of the jars clean.
- Place the lids and rings on the jars, then process the filled jars in a water bath canner for 10 minutes at 10 pounds of pressure.
- Carefully remove the jars from the canner and allow them to cool for 12 to 24 hours. Check the lids to ensure a proper seal has formed.
This recipe makes 6-7 quarts of delicious homemade apple pie filling. It’s perfect for satisfying your cravings all year. Remember to store it in a cool, dark place for up to 18 months.
“Canning your own apple pie filling is a rewarding and practical way to preserve the flavors of the season. With a few simple steps, you can enjoy the taste of fresh-baked pie all year round.”
Key Ingredients and Their Proportions
Making homemade canned apple pie filling is all about finding the right mix of ingredients. It starts with fresh apples, then adds sweeteners, thickeners, and spices. This mix creates the perfect taste and texture.
Understanding ClearJel vs Other Thickeners
ClearJel is the top choice for thickening apple pie filling. It’s a special cornstarch that keeps its texture during canning. Unlike regular cornstarch, ClearJel can handle the heat and pressure of canning. This keeps your filling smooth and creamy.
Spice Combinations and Measurements
Adding spices like cinnamon, nutmeg, and sometimes clove or allspice gives the filling a cozy flavor. Start with 1/4 teaspoon of each spice per can. You can adjust to taste. A good starting point is 1/2 teaspoon of mixed spices per cup of filling.
Adding a bit of fresh lemon juice also helps. It balances the sweetness and enhances the flavor. Try different amounts to find your favorite mix.
| Ingredient | Typical Proportion |
|---|---|
| Apples (peeled, cored, and chopped) | 6 pounds |
| Granulated Sugar | 4 1/2 cups |
| ClearJel (or Thick Gel) | 1 cup |
| Ground Cinnamon | 1 teaspoon |
| Ground Nutmeg | 1/2 teaspoon |
| Bottled Lemon Juice | 1 tablespoon |
These amounts are just a guide. You might need to tweak them based on your apples, taste, and desired filling consistency.
Safe Canning Practices and Processing Times
Canning apple pie filling at home is a great way to enjoy delicious flavors all year. It’s important to follow safe canning steps to avoid spoilage and keep food safe. The key is to use the right processing times and keep everything clean during canning.
First, make sure to sterilize all jars, lids, and tools before starting. This step kills harmful bacteria that could ruin your canned goods. Once your jars are clean, you can start filling them.
- Fill your jars with hot apple pie filling, leaving 1 inch of space at the top.
- Seal the jars tightly and boil them for 25 minutes (at 0-1,000 ft elevation).
- For every 1,000 feet above sea level, add 1 minute to the boiling time.
- Let the jars cool for 12-24 hours before checking if they’re sealed.
Following these canning apple pie filling recipe steps is key to making safe, shelf-stable food. Sealed jars can be stored for up to 1 year. This means you can enjoy homemade apple pie whenever you want.
| Ingredient | Quantity |
|---|---|
| Tart Apples | 34 medium-size |
| White Sugar | 4 1/2 cups |
| Clear Jel | 1 cup |
| Ground Cinnamon | 1 Tablespoon |
| Ground Nutmeg | 1/4 teaspoon |
| Kosher Salt | 1 teaspoon |
| Apple Juice | 4 cups |
| Water | 4 1/2 cups |
| Lemon Juice | 1/4-1/2 cup |
Remember, following these canning apple pie filling recipe steps is crucial for making safe, shelf-stable food. Sealed jars can be stored for up to 1 year. This lets you enjoy homemade apple pie whenever you want.

Storage Requirements and Shelf Life
Properly canned shelf-stable pie fillings can last about a year. Keep them in a cool, dry place away from light. Make sure to remove the rings to avoid false seals.
Always check canned goods before using them. Discard any jars that show signs of spoilage. This includes bulging lids, leaks, off-odors, or mold.
Optimal Storage Conditions
Keep your canned dessert ingredients in a cool, dark spot. The ideal temperature is between 50°F to 70°F (10°C to 21°C). This keeps the filling fresh and of high quality.
Don’t store cans in direct sunlight or near heat. These conditions can make the filling spoil faster.
Signs of Spoilage to Watch For
- Bulging or swelling lids
- Leaks or cracks in the can
- Unusual odors or discoloration
- Presence of mold or other growth
If you see any of these signs, throw away the canned pie fillings right away. Spoiled canned goods can cause stomach cramps, diarrhea, and vomiting. They can even lead to serious conditions like botulism.
| Food Type | Shelf Life (Unopened) |
|---|---|
| Canned Pie Fillings | 1-2 years |
| Low-Acid Canned Foods (Meats, Vegetables) | 2-5 years |
| High-Acid Canned Foods (Fruits, Tomatoes) | 1-1.5 years |
These are general guidelines. The actual shelf life of canned dessert ingredients can vary. It depends on the product, storage, and packaging. Always check cans before use for safety and quality.
Creative Uses Beyond Traditional Apple Pie
Canned apple pie filling is more than just for apple pie. It opens up a world of tasty desserts. Discover how it can make your desserts even better.
Try it in apple cobblers or apple turnovers for a cozy treat. Add it to apple crisps or oatmeal for a fruit-packed breakfast. Use it as a topping for pancakes or waffles, or fill cinnamon rolls with it.
Need a quick dessert for guests? Canned apple pie filling is perfect. Spoon it over vanilla ice cream for a sweet finish. Or layer it in apple pie bars or cheesecake-inspired desserts for a no-bake treat.
But it’s not just for sweets. Canned apple pie filling can also add flavor to savory dishes. Try it in pork or chicken dishes or mix it into salads for a burst of autumn flavor.
Make the most of apple season with canned apple pie filling. It’s great for both classic desserts and new creations. This pie filling convenience item will make your cooking and baking more exciting all year.
Troubleshooting Common Canning Issues
Canning your own apple pie filling is rewarding, but you might face some problems. Don’t worry, you can fix these issues easily. This way, you’ll always have the perfect canned apple pie filling.
Siphoning (Liquid Loss)
Siphoning is when liquid disappears from jars during canning. It happens due to pressure changes or air bubbles. To stop it, follow headspace rules, remove air gently, and keep pressure steady.
Separation and Cloudiness
Cloudy or separated canned apple pie filling can be a problem. It might be because of apples’ starch or minerals in water. Use the right thickener and check your water quality to avoid this.
Improper Sealing
A good seal is key for safe canning. Poor sealing can be due to jar damage or wrong lid tightening. Clean jars well, inspect them, and follow processing times for a tight seal.
Fixing canning problems requires careful attention and some trial and error. With practice and these tips, you’ll make delicious canned apple pie filling for everyone to enjoy.

Tips for Achieving Perfect Consistency
Creating a delicious apple pie from canned filling requires the right consistency. It’s all about thickening your canned fruit filling to perfection. This ensures your homemade dessert is a hit.
Proper Filling Thickness
The filling’s thickness is key. It should be thick but still spreadable. The filling should hold its shape when scooped and flow smoothly when poured.
To get this right, use the right amount of thickener, like Clear Gel. Cook the filling until it’s thick and bubbly before canning. This keeps the filling perfect even after processing.
Avoiding Common Texture Problems
A common problem is a mushy, soft texture. To avoid this, be careful with your apples during blanching. Don’t overcook them to keep their crunch.
If your filling is too thick after processing, add a bit of apple juice or water. This will fix the consistency without affecting the taste or quality of your pie.
By following these tips, you’ll make apple pie from canned filling with a great texture. It will impress your family and friends.
Time-Saving Batch Processing Strategies
Canning your own apple pie filling is rewarding but time-consuming. To speed up, try batch processing. Set up an assembly line to make each step quicker and more efficient.
Start by organizing your space and getting all your pie baking supplies. Assign tasks to each team member. One can peel and slice apples, another can mix the filling, and the third can fill jars.
- Get an apple peeler/corer/slicer to make apple prep faster.
- Have all ingredients and tools ready before starting to keep the flow smooth.
- Do multiple batches in one day to save time and effort.
By dividing tasks and using special tools, you can can apple pie filling recipes faster. This way, you can enjoy homemade apple pie filling all year.
“Proper preparation and organization are the keys to efficient batch processing when canning apple pie filling.”
Remember, the secret to batch processing is paying attention to detail and following safe canning practices. With these tips, you can enjoy homemade apple pie filling all year.
Conclusion
Canning apple pie filling is a great way to enjoy fall flavors all year. It’s easy and safe to do, thanks to some key steps. You can make delicious fillings for many homemade preserves and canned dessert ingredients.
This apple pie filling canned method saves time and lets you customize flavors. It’s a great skill for any home cook to have.
By following this guide, your apple pie filling canned will stay perfect. You’ll learn how to pick the best apples and can them right. This guide covers everything you need to know to make your own amazing apple pie filling.
Whether you want to always have apple pie filling canned on hand or try new recipes, this guide helps. Enjoy the taste and convenience of homemade canned dessert ingredients. It will make your cooking and baking even better, pleasing everyone all year.

