How to Make Beef Quesadillas: A Step-by-Step Guide
Growing up, my mom’s beef quesadillas were legendary in our home. The smell of sizzling tortillas and melted cheese with savory beef was magical. It brought us all together, waiting for that first bite.
Quesadillas hold a special place in my heart. I’m excited to share how to make perfect beef quesadillas. They’ll make your family love them just as much as mine does.
In this guide, you’ll learn about the key ingredients and tools. You’ll also get step-by-step instructions for making delicious beef quesadillas. They’re a mix of Mexican cuisine and Tex-Mex flavors. This recipe is for everyone, whether you’re experienced or just starting out.
Table of Contents
Essential Ingredients for Perfect Beef Quesadillas
Making great ground beef quesadillas starts with choosing the right ingredients. The beef filling is key, using lean, tasty ground beef. Add a mix of cheeses like cheddar, Monterey Jack, or Mexican cheese for a cheesy delight.
Quality Beef Selection and Preparation
Go for lean ground beef, 93% lean or more, for tender and juicy quesadillas. Steer clear of high-fat beef to avoid greasy quesadillas. Season the beef with spices like paprika, cumin, coriander, and thyme for extra flavor.
Cheese Varieties and Tortilla Options
For the cheese, choose a Mexican blend or a mix of cheddar and Monterey Jack. These cheeses melt well, making your quesadillas gooey. Corn or flour tortillas are good choices, but corn adds a Mexican twist.
Essential Seasonings and Spices
Seasonings and spices are vital for the taste of beef quesadillas. Use onion, garlic, bell pepper, and tomato paste for a rich filling. Add paprika, cumin, coriander, and thyme to enhance the beef flavor.
“The key to making the best beef quesadillas is finding the perfect balance of high-quality ingredients and expertly seasoned fillings.”
- Lean ground beef, 93% or higher
- Shredded Mexican cheese blend or cheddar and Monterey Jack
- Corn or flour tortillas
- Onion, garlic, and bell pepper
- Tomato paste
- Paprika, cumin, coriander, and thyme
With these ingredients, you’re ready to make delicious ground beef quesadillas. They’ll satisfy your cravings and impress your taste buds.
Kitchen Tools and Equipment Needed
To make tasty beef quesadillas, you’ll need some key tools and equipment. A big, heavy frying pan or cast-iron skillet is essential. It’s used for cooking the beef and putting together the quesadillas. A strong spatula is also important for flipping and handling the quesadillas.
A food processor can make quick dips or salsas for your quesadillas. Measuring cups and spoons help you measure ingredients accurately. This ensures your quesadillas have the right balance of flavors.
- Large, heavy-based frying pan or cast-iron skillet
- Sturdy spatula
- Food processor (for making dips and salsas)
- Measuring cups and spoons
With these kitchen tools for quesadillas and cooking equipment, you’re ready to make delicious beef quesadillas. They’ll surely impress your family and friends.
| Kitchen Tool | Purpose |
|---|---|
| Large, heavy-based frying pan or cast-iron skillet | Cooking the beef filling and assembling the quesadillas |
| Sturdy spatula | Flipping and handling the quesadillas during cooking |
| Food processor | Making dips and salsas to accompany the quesadillas |
| Measuring cups and spoons | Precisely portioning out the ingredients |
Preparing the Signature Beef Filling
Making the perfect beef quesadilla begins with a tasty beef filling. Choose lean ground beef, like a mix of chuck and sirloin, for great taste and texture. Start by cooking onions and garlic in a pan until they’re soft. Then, add the ground beef.
Season the beef with spices like cumin, chili powder, and salt. Let it simmer for about 15 minutes until the sauce thickens.
Achieving the Right Texture and Flavor
To get the right texture, don’t overcook the beef. Overcooked beef can be dry and tough. You want a juicy beef filling that pairs well with the crispy tortilla and melted cheese.
Storage and Make-Ahead Tips
- The beef filling can be refrigerated for up to 2 days or frozen for up to 2 months for make-ahead convenience.
- When you’re ready to make the quesadillas, make sure the beef filling is cool. This prevents the tortillas from getting soggy.
With your flavorful beef filling ready, you’re almost there. The secret to a great beef quesadilla is balancing seasoned beef, melted cheese, and a crisp tortilla.
The Art of Beef Quesadilla Assembly
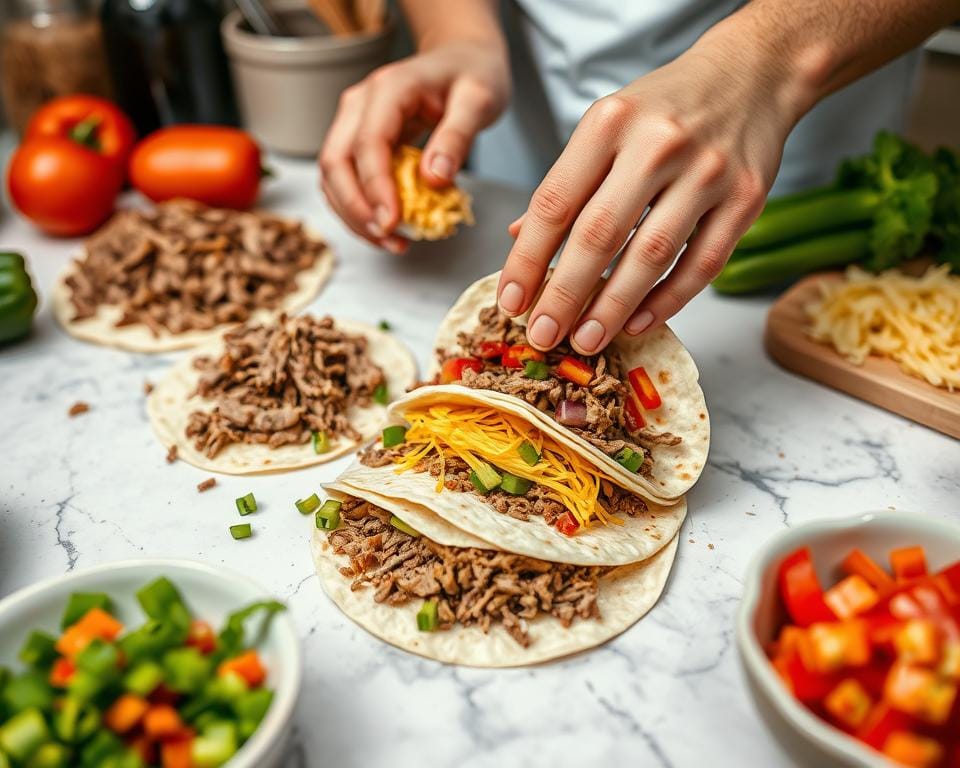
Making the perfect beef quesadilla is an art. It involves choosing the right ingredients and mastering the assembly. Each step is key to a delicious, crispy quesadilla. Let’s explore how to make beef quesadillas that will delight your taste buds.
The filling is crucial for a tasty beef quesadilla. After cooking the ground beef or steak, it’s time to put it together. Start with a tortilla, then add a lot of cheese like Oaxaca, Chihuahua, and Monterey Jack. Spread the beef over the cheese, and add more cheese on top.
Next, fold the tortilla in half to keep the filling inside. This makes a neat half-moon shape. Letting the filling cool before assembling helps the tortillas stay crispy.

Choosing the right tortilla is important. Flour tortillas should be 8-10 inches, and corn tortillas about 6 inches. The filling should be 1/2 to 3/4 cup for flour, and 1/4 to 1/2 cup for corn.
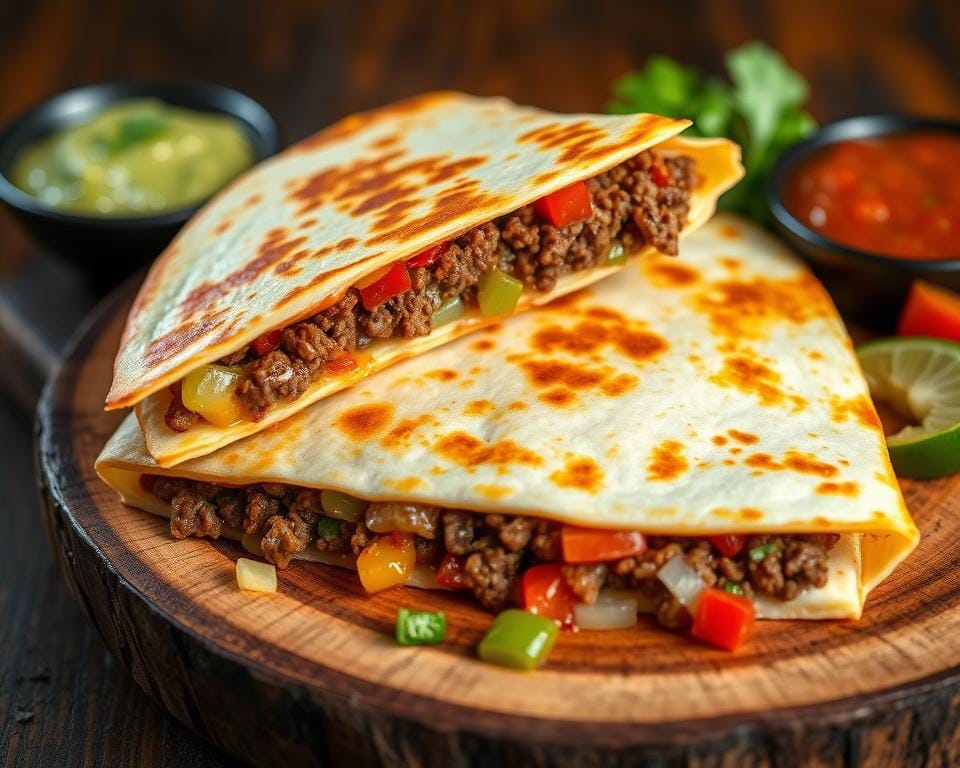
Now, it’s time to cook your quesadillas. You can use the stovetop or oven. The goal is a crispy outside and a melted inside. With practice, you’ll make delicious quesadillas at home.
Cooking Methods and Techniques
Making the perfect beef quesadillas needs the right cooking skills. You can use the stovetop or the oven. Each way has its own benefits for a crispy outside and melted cheese inside.
Stovetop Method
The stovetop is great for quick and easy cooking. Heat a large skillet over medium-high heat and add oil. Place the quesadillas in the pan and cook for 3 minutes on each side. This way, you get a golden-brown tortilla and melted cheese.
Oven-Baking Option
Want to cook without watching the pan? Try baking in the oven. Preheat it to 425°F (220°C) and oil a baking sheet. Put the quesadillas on the sheet and bake for 8 minutes on each side. You’ll get crispy tortillas and melted cheese.
Achieving the Perfect Crispy Exterior
To get a crispy quesadilla, make sure tortillas touch a hot surface. Use oil in a skillet for stovetop cooking. For baking, a preheated sheet is key. This ensures a crispy outside and a warm, cheesy inside.
Creating Fresh Accompaniments
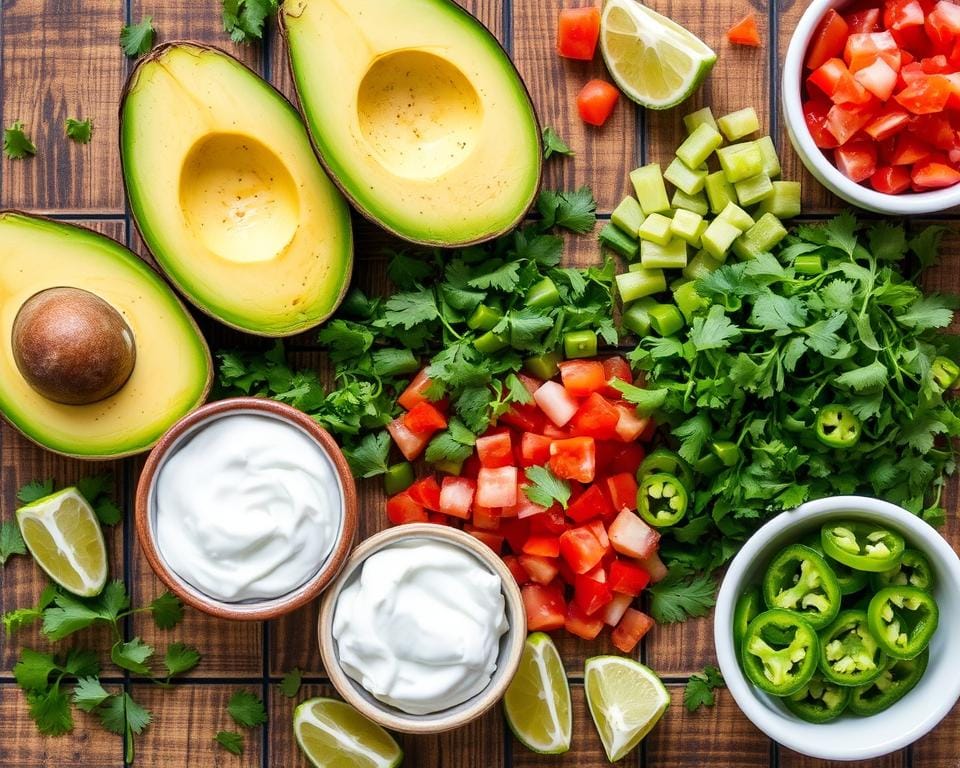
To make the savory beef quesadillas even better, fresh sides are essential. Start with a zesty tomato salsa. Just dice ripe tomatoes and mix them with minced cilantro, finely chopped red onion, and a squeeze of lime juice. For a creamy contrast, blend avocado, tangy yogurt, fragrant cilantro, and a hint of garlic into a cool dip.
A crisp salad with thinly sliced onion, colorful bell pepper, juicy tomatoes, creamy avocado, and a touch of spicy Serrano pepper can also add a refreshing touch. These fresh sides will make your homemade beef quesadillas a satisfying meal.
| Salsa Ingredients | Avocado Dip Ingredients | Salad Ingredients |
|---|---|---|
|
|
|
These fresh and flavorful sides will enhance the quesadilla toppings and add a delightful fresh salad for quesadillas. They create a well-balanced and satisfying meal.

Make-Ahead and Storage Solutions
Planning ahead is key to enjoying tasty beef quesadillas anytime. With a few simple steps, you can freeze and reheat them for quick meals.
Freezing Instructions
Make your quesadillas as you normally would, but don’t cook them. Place the uncooked quesadillas on a baking sheet and freeze for 2-3 hours until firm. Then, move them to a freezer bag or airtight container. This keeps them good for up to 2 months in the freezer.
Reheating Methods
- To reheat, take the frozen quesadillas out and microwave them for 30-40 seconds to thaw. Then, cook them in a hot skillet or on a griddle until crispy and the cheese is melted.
- Or, bake them in a preheated oven at 400°F (200°C) for 10-12 minutes, flipping halfway, until heated through and golden brown.
Cooked quesadillas can be stored in the fridge for 2-3 days. To reheat, place them in a hot skillet or on a griddle for a few minutes per side, until the cheese is melted and the exterior is crisp.
| Storage Method | Storage Time |
|---|---|
| Freezer | Up to 2 months |
| Refrigerator | 2-3 days |
These make-ahead and storage solutions let you always have delicious freezing quesadillas and reheating quesadillas ready. They’re perfect for busy weeknights or last-minute gatherings.
Common Mistakes to Avoid
When making beef quesadillas, avoiding common mistakes is key. Don’t overstuff them, as this can cause mess and uneven cooking. Make sure your beef is cool before adding it to prevent soggy tortillas.
Patience is important. Take your time to cook each side until they’re golden brown. Also, use just the right amount of oil. Too much can make them greasy.
Remember these quesadilla cooking tips and avoiding quesadilla mistakes. With a bit of care, you can make delicious beef quesadillas. This classic dish can become a flavorful favorite in your kitchen.
FAQ
What are the key ingredients in beef quesadillas?
What kitchen tools and equipment are needed to make beef quesadillas?
How do you prepare the signature beef filling for quesadillas?
How do you assemble the beef quesadillas?
What are the cooking methods for beef quesadillas?
What fresh accompaniments can you serve with beef quesadillas?
Can you make beef quesadillas ahead of time or freeze them?
What common mistakes should be avoided when making beef quesadillas?
Beef Quesadillas
A Must-Try Beef Quesadillas Recipe for Quick and Delicious Meals!
I tried the Beef Quesadillas recipe, and it was amazing! I loved how simple the ingredients were and how easy it was to make, yet the flavor was so rich and delicious.
I added some colorful bell peppers and onions for extra crunch, and the result was fantastic. What I liked most about this recipe is how versatile it is—you can easily tweak it to suit different tastes.
I served it with spicy guacamole and sour cream, and it made the perfect family meal. Highly recommend this recipe to anyone who loves quick and flavorful dishes! Thank you for sharing this wonderful recipe.” – Noor

