How to Brine Chicken: A Simple Guide for Juicy Results
Ever wondered why some chicken dishes are juicier and more flavorful? The secret might be in brining. But what is brining, and how does it make chicken breasts tender and delicious?
Table of Contents
Understanding the Science of Brining
Poultry brining changes chicken’s texture and taste for the better. It involves soaking the meat in a salt-water mix. This mix starts a series of reactions that make the chicken taste and feel amazing.
How Salt Water Transforms Meat
Salt is key to brining’s magic. When chicken meets the brine, salt molecules start to break down the meat’s proteins. This makes the meat soak up more moisture, turning it juicy and tender.
The Role of Osmosis in Brining
Osmosis is important in brining. It’s when water moves into the meat cells, making the chicken even juicier and tastier. This process spreads flavors evenly, making every bite delicious.
Benefits of Brining Process
- Increased Juiciness: The salt solution breaks down muscle fibers, making the meat tender and juicy.
- Enhanced Flavor: Brining seasons the meat from the inside, ensuring flavors are evenly spread.
- Improved Texture: The brine tenderizes the chicken, making it more enjoyable to eat.
Learning about brining’s science can make your chicken dishes better. It makes them juicier and more flavorful. This simple technique can take your cooking to the next level and wow your guests.
Essential Equipment and Ingredients
Brining chicken is easy and needs just a few things. You’ll need a big container or a resealable bag for the chicken and brine. Also, you’ll need measuring cups and spoons to get the brining ingredients right.
The main parts of a chicken brine are water and salt. Use kosher or sea salt because it dissolves well and tastes great. You can add sugar, herbs, garlic, and spices to make it even tastier.
The basic brine mix is 4 cups of cold water and 4 1/2 tablespoons of Morton’s kosher salt or 3 tablespoons of fine salt. Make sure to use containers that are safe for food to avoid any bad tastes.
| Ingredient | Quantity |
|---|---|
| Water | 4 cups |
| Morton’s Kosher Salt | 4 1/2 tablespoons |
| Fine Salt | 3 tablespoons |
| Optional Flavorings | Herbs, garlic, spices |
With the right brining ingredients and tools, you’ll make juicy, tasty chicken every time.
The Perfect Brine Chicken Solution Recipe
Brining your chicken is the secret to juicy, flavorful results. The key is finding the right balance of ingredients and following a simple ratio. Let’s dive into the perfect brine solution recipe to transform your chicken into a mouthwatering masterpiece.
Basic Brine Ratio and Measurements
The standard brine ratio is 4 cups of cold water to 4 1/2 tablespoons of Morton’s kosher salt or 3 tablespoons of fine salt. This creates a 3% salt solution that will work wonders on your chicken, helping it retain moisture during cooking.
Optional Flavor Enhancers
- Garlic, minced or crushed
- Fresh herbs like rosemary, thyme, or sage
- Whole peppercorns
- Citrus fruits, such as lemon or orange slices
Feel free to experiment with these flavor-boosting ingredients to create a brine that suits your taste preferences.
Types of Salt and Their Effects
The type of salt you use can impact the measurements and overall results. Here’s a quick guide:
- Diamond Crystal Kosher Salt: Use 6 tablespoons per 4 cups of water.
- Morton’s Kosher Salt: Use 4 1/2 tablespoons per 4 cups of water.
- Fine/Table Salt: Use 3 tablespoons per 4 cups of water.
Regardless of the salt you choose, make sure to dissolve it completely in the water before adding your chicken. This ensures even distribution and optimal brining results.
Cold vs. Warm Water: Making the Right Choice
Choosing between cold and warm water for brining chicken is crucial. Culinary experts agree that cold water is better for brining. It leads to better-tasting chicken.
Cold water stops bacteria from growing. It keeps the brine safe and the chicken evenly seasoned. This ensures the chicken tastes great all over.
Warm water, on the other hand, can cook the chicken’s outside too much. This stops the brine from getting in evenly. The chicken might end up dry and too salty.
Studies prove cold water makes chicken tender and juicy. Cold water works with the chicken’s fibers to keep moisture in. This makes the chicken taste better when cooked.
To get the best brined chicken, use cold tap water or ice-cold water. This simple choice can greatly improve your chicken’s flavor and texture. It makes your meal better.
“The secret to perfectly brined chicken lies in the temperature of the water. Cold water is the way to go for the most tender, juicy, and flavorful results.”
Optimal Brining Times for Different Cuts
Brining chicken can take different times based on the cut. Finding the right brining time is key for moisture, flavor, and texture. Each piece needs its own brining time for the best results.
Boneless Chicken Breasts
Boneless, skinless chicken breasts need 30 minutes to 1 hour in the brine. This short time keeps the meat juicy and adds a nice flavor.
Bone-in Pieces
Bone-in chicken, like thighs and drumsticks, needs 1 to 2 hours in the brine. The bones let the brine soak deeper, making the meat more tender and flavorful.
Whole Chicken Timing
Brining a whole chicken takes 3 to 4 hours. This longer time ensures the brine reaches the chicken’s inner layers. It makes the meat moist and well-seasoned all over.
It’s crucial not to brine too long, as it can make the chicken too salty or soggy. Watch the time closely, adjusting for the chicken’s size and thickness. Always refrigerate the chicken while it’s brining for safety.
Knowing the right brining times for different chicken cuts can greatly improve your cooking. Try different brining times to find what works best for you and your dishes.
Step-by-Step Brining Process
Brining chicken is a simple yet transformative technique that can yield juicy, flavorful results. Follow this step-by-step guide to master the art of brining and take your chicken dishes to new heights.
- Dissolve the salt in cold water. The recommended ratio is 4 1/2 tablespoons of kosher salt per 4 cups of water. This creates the brine solution that will infuse your chicken with moisture and seasoning.
- For an extra flavor boost, add optional ingredients like garlic, herbs, spices, or citrus elements to the brine. This can include items like dried bay leaves, whole black peppercorns, fresh rosemary, thyme, and sliced lemons.
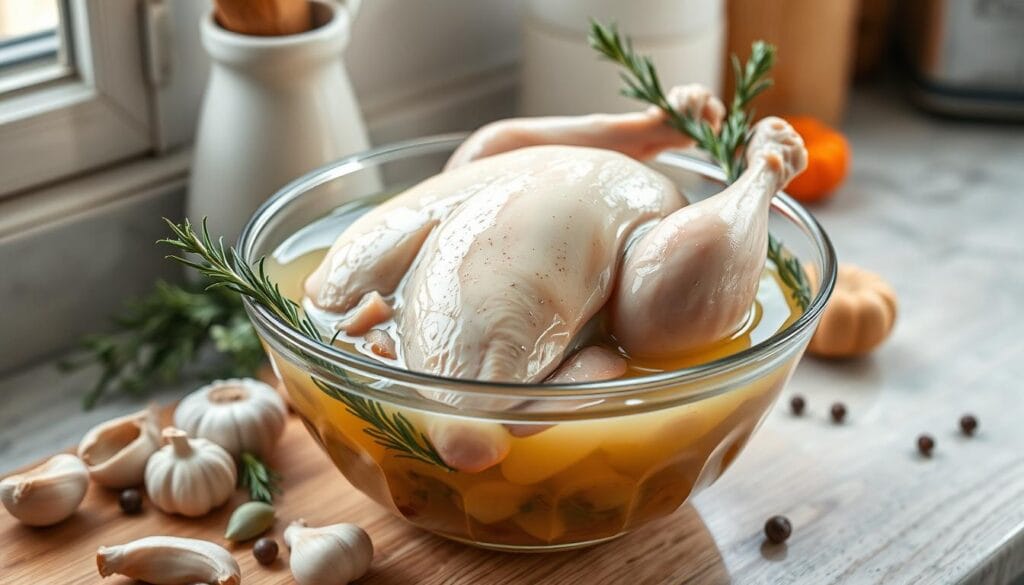
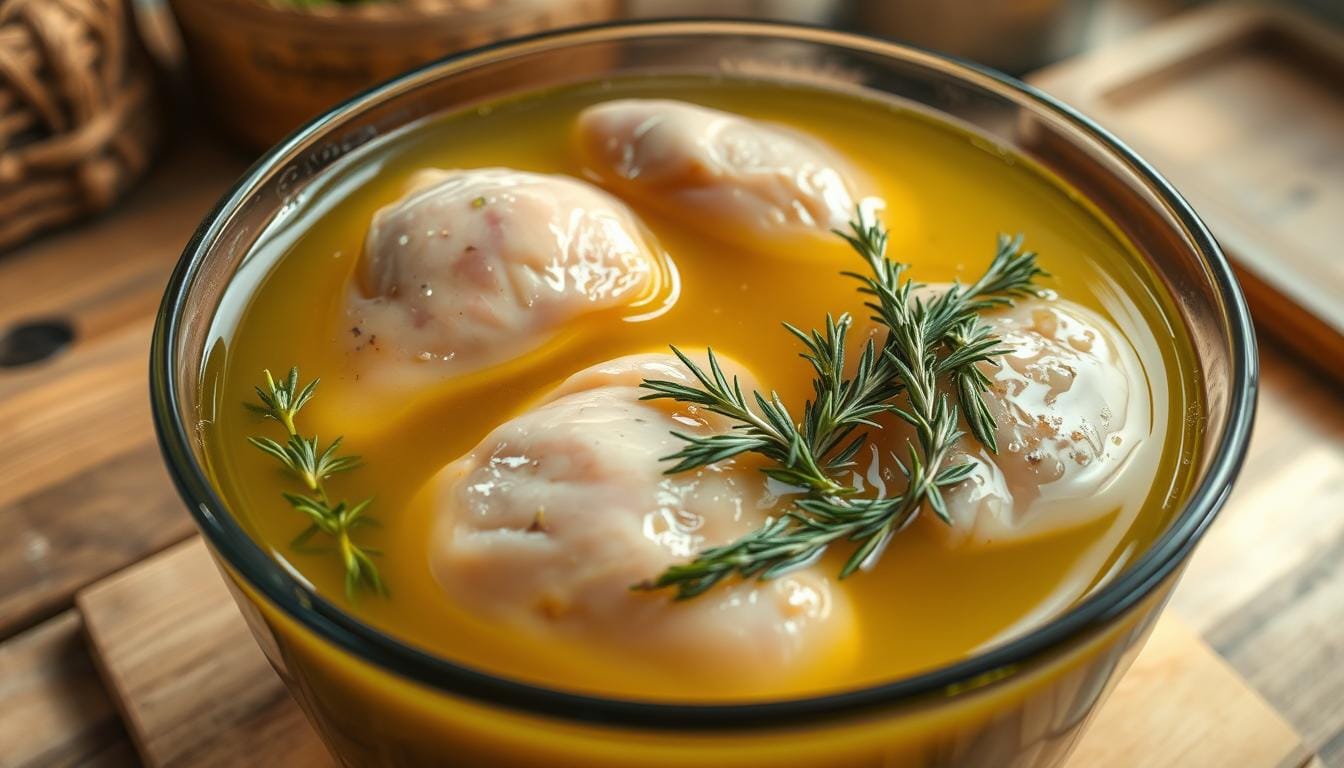
- Fully submerge the chicken in the brine, ensuring it is completely covered. This allows the brine to work its magic evenly throughout the meat.
- If brining for more than 30 minutes, refrigerate the brining container to maintain a safe temperature and prevent bacterial growth.
- Remove the chicken from the brine after the recommended time, which can range from 30 minutes to 24 hours depending on the cut and size. Avoid over-brining, as it can lead to a tough, rubbery texture.
- Pat the chicken dry with paper towels, discarding the used brine. The chicken is now ready to be cooked without needing any additional salt.
By following these simple steps, you can unlock the full potential of your chicken and enjoy the juicy, flavorful results of the brining process.

“Brining is a game-changer for chicken dishes, transforming even the driest cuts into succulent, flavor-packed delights.”
Common Brining Mistakes to Avoid
Brining chicken can make it juicy and full of flavor. But, you must avoid common mistakes to get the best results. Let’s look at the main errors to avoid when brining chicken.
Oversalting Risks
One big mistake is using too much salt. It’s key to use the right amount of salt and not brine for too long. Too much salt can make the chicken taste bad. Always follow the recommended brine recipe and brining times to avoid this.
Temperature Control Issues
Keeping the right temperature is crucial. Use cold water and keep the chicken refrigerated during brining. Not controlling the temperature can lead to unsafe food and bad texture.
Time Management Errors
Brining the chicken for too long is another mistake. It can make the chicken spongy and too salty. Always follow the recommended brining times for each chicken cut to avoid this.
Successful brining needs the right ingredients, proper temperature, and careful timing. By avoiding these mistakes, you’ll get juicy, flavorful chicken every time.
Best Cooking Methods for Brined Chicken
Brined chicken is great for many cooking methods. You can bake, grill, pan-fry, or roast it. The secret is to adjust cooking time and temperature for the extra moisture.
For baking, heat your oven to 400°F. Cook the chicken for 20-25 minutes. Make sure it reaches 160°F for juicy meat.
When grilling, cook for 6-8 minutes on each side. Watch it closely to avoid overcooking. The grill will make the outside crispy and keep the inside moist.
- For pan-frying, cook for 4-6 minutes on each side. Use a little oil or spray to prevent sticking.
- Roasting is also great for cooking brined chicken. It crisps the skin while keeping the meat juicy and tasty.
Remember, don’t add extra salt when seasoning your brined chicken. The brine has already seasoned it perfectly. Too much salt can make it too salty.
| Cooking Method | Temperature | Cook Time |
|---|---|---|
| Baking | 400°F | 20-25 minutes |
| Grilling | N/A | 6-8 minutes per side |
| Pan-Frying | N/A | 4-6 minutes per side |
| Roasting | N/A | N/A |
Follow these tips to make sure your brined chicken recipes are moist and flavorful. Adjust cooking time and temperature as needed for perfect results.

“The key to perfectly cooked brined chicken is to pay attention to the cooking time and temperature, adjusting as needed to prevent overcooking and drying out the meat.”
Storage and Food Safety Guidelines
Proper storage and food safety are key when handling brined chicken. After brining, it’s vital to follow these steps. This ensures your chicken stays fresh and safe to eat.
Always refrigerate your brined chicken. Cooked or uncooked, it can stay in the fridge for up to 3 days. For longer storage, freezing is best. Brined chicken can be frozen for up to 2 months.
- Refrigerate brined chicken for up to 3 days
- Freeze brined chicken for up to 2 months
When handling brined chicken, use clean tools and containers. Throw away the brine solution after use. Never reuse it. Thaw frozen chicken in the fridge, not at room temperature, to prevent bacterial growth.
To keep food safe, cook brined chicken to 165°F (74°C). This kills harmful bacteria. Also, keep raw chicken away from other foods to avoid contamination. Wash your hands and any surfaces that touched raw chicken with soap and water.
By following these guidelines, you can enjoy your brined chicken safely. This ensures a delicious and healthy meal.
Advanced Brining Techniques and Variations
There’s more to brining than just a basic solution. You can enhance flavor and texture with advanced techniques and creative twists. Dry brining is one method where you sprinkle salt on the chicken and refrigerate it uncovered. This allows the salt to concentrate flavors and tenderize the meat.
Want to try something new? Infuse your brine with herbs, spices, citrus, or fruit juices. For a bold flavor, blend onions, garlic, and herbs in the brine. Add brown sugar or honey for a sweet touch.
For bigger chicken pieces like a whole bird or bone-in cuts, inject the brine into the meat. This spreads flavors evenly and keeps the chicken moist. Don’t be afraid to use different salts like sea salt or pink Himalayan salt for unique flavors.

