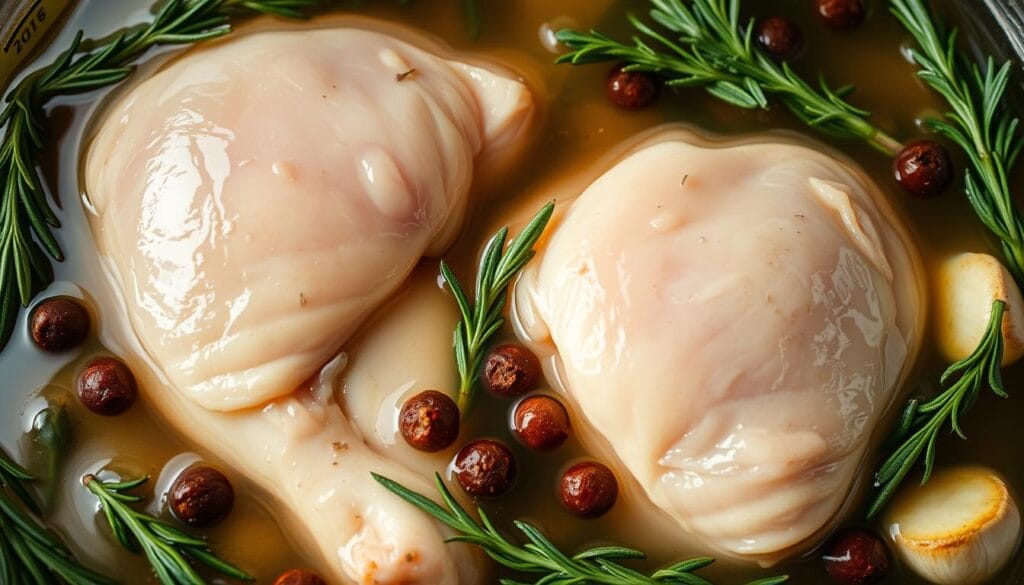
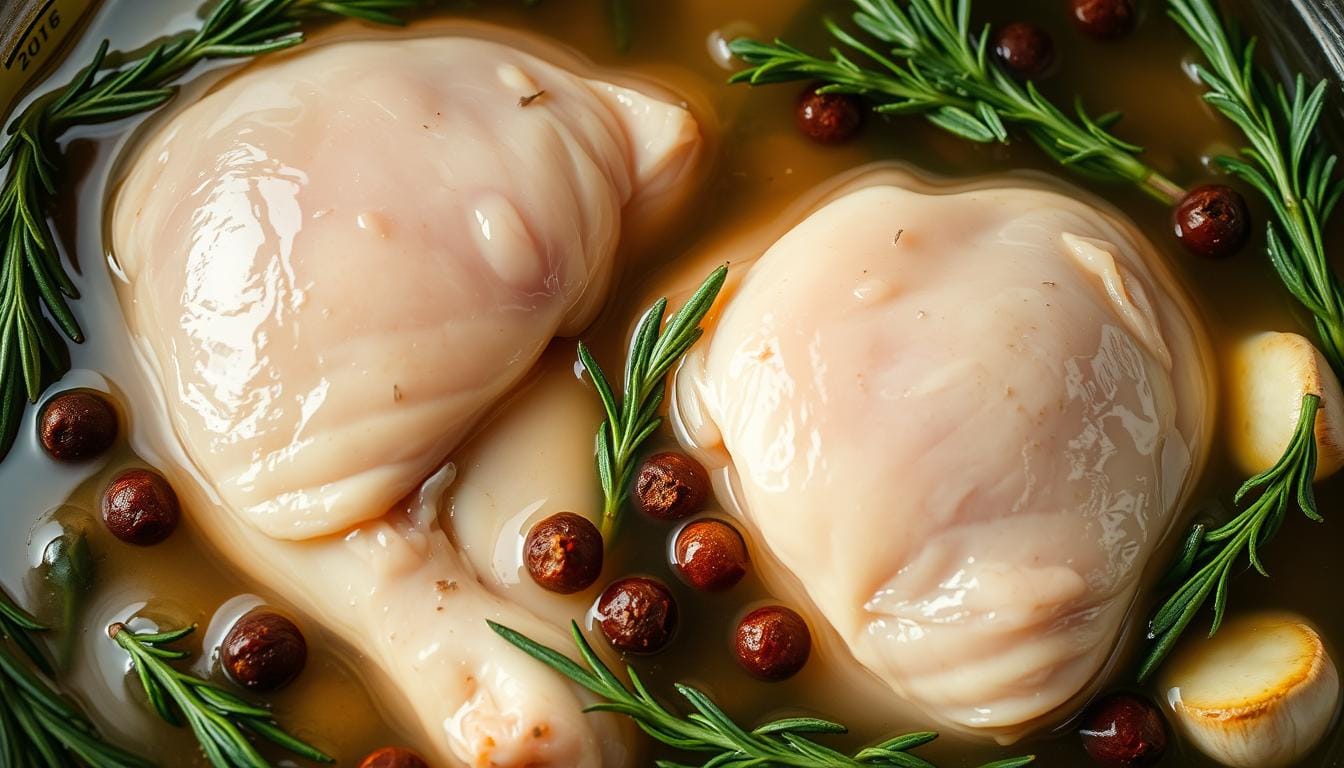
How to Brine Chicken Breast for Perfect Results
Ever wondered how to make chicken breasts tender, juicy, and full of flavor? The answer is brining. This method involves soaking chicken in a salt water solution. It changes the game for your chicken’s taste and texture. But how does it work, and what makes a brine perfect? Let’s explore the science behind brining to get to the heart of delicious chicken breasts.

Table of Contents
Understanding the Science Behind Brining
Brining chicken breasts is a game-changer for juicy, flavorful results. But what’s happening under the surface? Let’s explore the science behind this process.
How Salt and Water Transform Chicken
The magic of brining comes from salt and water. When chicken is soaked in a saltwater solution, osmosis happens. This makes the chicken absorb more moisture, making it juicier.
Chemical Processes During Brining
The salt in the brine also changes the chicken’s proteins. This change makes the chicken tender and succulent. The proteins become more pliable, leading to a better texture.
Benefits of Protein Modification
The dissolved salt seasons the chicken from the inside. This creates a deeper flavor. It also helps keep the chicken moist during cooking, ensuring juicy bites.
“Brining is a game-changer when it comes to achieving juicy, flavorful results with chicken breasts.”
Understanding brining’s science can enhance your chicken dishes. It involves osmosis and protein changes. This simple technique can transform your cooking and satisfy your taste buds.
Essential Ingredients for the Perfect Brine
Brining chicken is a simple yet effective technique to ensure juicy, flavorful results. A basic brine needs only two things: salt and water. You’ll need 4 cups of cold water and 6 tablespoons of Diamond Crystal kosher salt, or 4 1/2 tablespoons of Morton’s kosher salt, or 3 tablespoons of fine/table salt.
To make your brine even better, you can add some optional ingredients. Think about adding:
- Whole peppercorns for a subtle spice note
- Crushed garlic cloves to infuse the chicken with savory essence
- Fresh herbs like rosemary, thyme, sage, or bay leaves for aromatic complexity
- Whole cloves to lend a warm, slightly sweet undertone
The trick is to find the right balance. Let the salt and water do their job while adding flavors that enhance the chicken. With the right mix, you’ll get the best brine for chicken and make your poultry incredibly juicy and flavorful.
| Ingredient | Quantity |
|---|---|
| Cold Water | 4 cups |
| Diamond Crystal Kosher Salt | 6 tablespoons |
| Morton’s Kosher Salt | 4 1/2 tablespoons |
| Fine/Table Salt | 3 tablespoons |
| Whole Peppercorns | Optional |
| Crushed Garlic Cloves | Optional |
| Fresh Herbs (Rosemary, Thyme, Sage, Bay Leaves) | Optional |
| Whole Cloves | Optional |
“The secret to perfectly juicy, flavorful chicken lies in the brine. With the right brine ingredients for chicken, you can transform even the most ordinary poultry into an extraordinary culinary experience.”
The Basic Brine Formula and Measurements
Brining chicken breasts is easy. Just use 1 tablespoon of salt for every cup of liquid. This simple ratio helps make your chicken juicy and full of flavor.
Salt-to-Water Ratio Guidelines
For a good brine, aim for a 3% salt concentration. This means 2 tablespoons of salt for every liter of water. Or, use 4 tablespoons (1/4 cup) of salt for each gallon of water. Make sure the salt is fully dissolved before adding your chicken.
Adjusting Quantities for Multiple Breasts
Brining more than one chicken breast? You’ll need more brine. Add 1-2 cups of water and 1 tablespoon of salt for each extra breast. This keeps the brine balanced and ensures even cooking.
| Number of Chicken Breasts | Water (cups) | Kosher Salt (tablespoons) |
|---|---|---|
| 1 | 4 | 4 |
| 2 | 6 | 5 |
| 3 | 8 | 6 |
| 4 | 10 | 7 |
Feel free to adjust the ratio based on your taste and brining time. A longer brine might need less salt, while a shorter one might need more.
How to Brine Chicken Breast: Step-by-Step Guide
Brining chicken breasts makes them juicy and flavorful. It works for grilling, baking, or sautéing. Here’s how to brine chicken breasts perfectly.
- Start by dissolving the salt in warm water. Use 2 tablespoons of salt for every 2 cups of water.
- After dissolving the salt, add cold water to cool the brine. This keeps the chicken safe to chill.
- Get a large, food-grade brining bag or container. Add aromatics like herbs, citrus, garlic, and peppercorns.
- Pour the cooled brine into the bag or container. Add your chicken breasts. Make sure they’re fully covered.
- Seal the bag or cover the container. Refrigerate the chicken for 30-60 minutes. This step locks in moisture and flavor.
- After brining, rinse the chicken under cold water. Pat it dry with paper towels.
Your easy chicken brine method is done. Your chicken breasts are now ready to cook. Try grilling, baking, or sautéing for juicy, flavorful results!

| Ingredient | Quantity |
|---|---|
| Water | 2 cups |
| Salt | 2 tablespoons |
| Lemon Juice | 1 tablespoon |
| Sugar | 1 tablespoon |
| Bay Leaves | 3-4 |
| Garlic Cloves | 3 |
| Black Pepper | 1/2 teaspoon |
| Boneless, Skinless Chicken Breasts | 3-4 |
“The easy chicken brine method has been a game-changer for my grilled and baked chicken dishes. The results are consistently juicy and flavorful.”
Optional Flavoring Additions to Enhance Your Brine
When making the best brine for chicken, feel free to mix things up. You can add herbs, aromatics, citrus, and spices to your chicken brine recipe. This will make your brine even more delicious.
Herbs and Aromatics
Use fresh herbs like thyme, rosemary, oregano, and sage to add depth. Just add a few sprigs or a tablespoon of chopped leaves. Garlic cloves and whole peppercorns also add great flavor to your chicken.
Citrus and Spice Combinations
For a zesty touch, squeeze in some fresh lemon or orange juice. Adding slices of the fruit boosts the citrus flavor. Mixing citrus with spices like cinnamon, allspice, or chili powder creates a perfect balance of flavors.
These ingredients work best when brining for 45 minutes or more. This lets them fully infuse the chicken with their unique tastes. Try different mixes to find your favorite chicken brine recipe.
Warm vs. Cold Brine: Which Works Better?
The temperature of the brine solution is key when brining chicken breasts. Cold tap water is better than warm water for the best results. Warm water might dissolve salt faster, but it can harm the chicken’s texture and juiciness.
Research shows warm water brines make chicken less tender and juicy than cold water brines. Warm water causes the chicken’s molecules to expand, stopping the brine from getting in evenly. This can make the chicken less flavorful and drier.
Cold tap water, however, allows the brine to soak in slowly and evenly. This ensures the salt and seasonings spread out well in the chicken. It helps keep the juices in and makes the meat tender and flavorful.
| Brine Temperature | Effect on Chicken |
|---|---|
| Cold Tap Water | Optimal penetration, enhanced tenderness and juiciness |
| Warm Water | Less tender and juicy, uneven distribution of brine |
To get the best results when brining chicken breasts, use cold tap water. It lets the brine penetrate the meat well. This results in chicken that’s more flavorful, tender, and juicy.

Optimal Brining Times for Perfect Results
Brining is key to making chicken breasts juicy and flavorful. The best brining time is between 30 minutes to 1 hour. This time lets the meat soak up flavors from the inside out, making it tender and juicy.
Minimum and Maximum Duration
The best brining time is 30-60 minutes. Brining for just 15 minutes adds a bit of salt flavor without changing the texture much. But, brining for more than 2 hours can make the meat too salty and spongy.
Signs of Over-brining
Brining chicken breasts for 4-8 hours can make them too salty and spongy. This is a clear sign of over-brining. To get the best results, take the chicken out once the brining time is right.
For brining times over 30 minutes, always refrigerate the chicken to keep it safe. By following these tips, you’ll brine your chicken breasts perfectly. They’ll be juicy, flavorful, and tender every time.
| Brining Time | Texture and Flavor |
|---|---|
| 15 minutes | Hint of salt flavor, minimal texture change |
| 30-60 minutes | Juicy, tender, and well-seasoned chicken breasts |
| 2+ hours | Overly salty and spongy texture |
Proper Storage During the Brining Process
Proper storage is key when brining chicken breasts. For brining times under 30 minutes, you can keep the chicken at room temperature. But for longer times, refrigerate it to avoid bacterial growth and keep food safe.
After brining, store the chicken in the fridge for up to 3 days. If freezing, brine for 30-60 minutes, drain, and then freeze in bags. This way, your brined chicken can stay good in the freezer for 6 months, perfect for busy nights.
Following these storage tips will help keep your brining chicken breasts flavorful and tender. It ensures your chicken brining tips result in tasty and safe meals for everyone.

