Essential Turkey Roaster Oven Tips for Perfect Holiday Meals
As the holiday season gets closer, planning a Thanksgiving feast can seem overwhelming. But, an electric turkey roaster oven can make it easier. These appliances let you use your oven for other dishes, making your turkey the star of the show.
Table of Contents
Understanding Electric Roaster Ovens
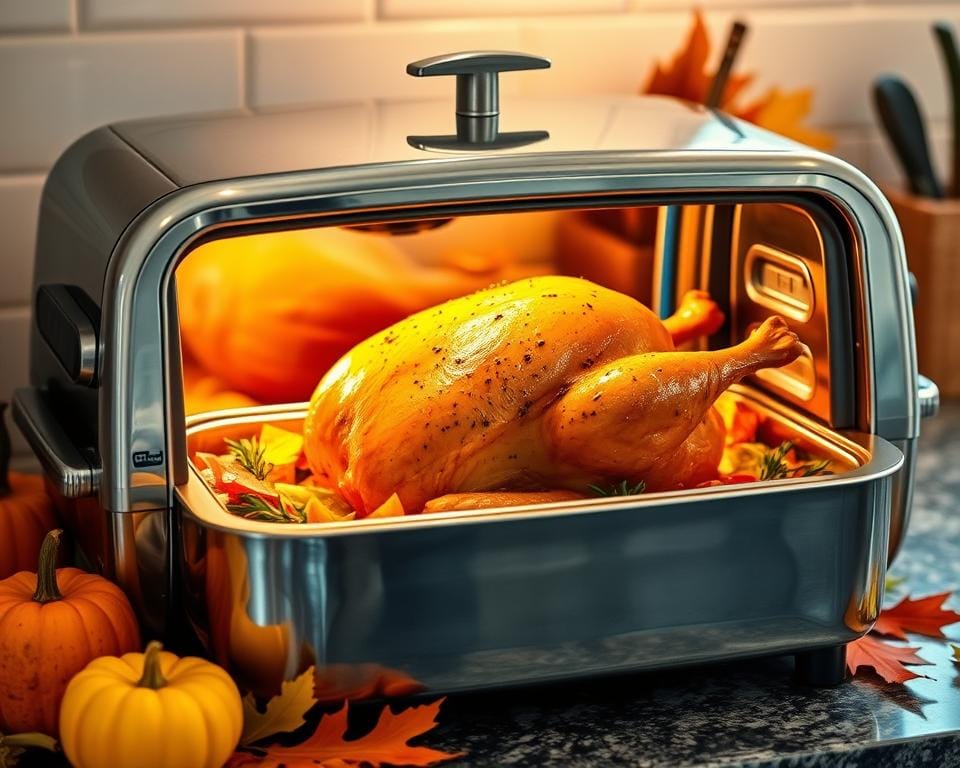
An electric roaster oven can change the game for your Thanksgiving turkey. These appliances use hot air to cook evenly. They have a simple dial for temperature, making them easy to use.
Size and Capacity Guidelines
Choosing the right electric roaster oven size is key. Pick one that can hold your turkey plus four pounds. For instance, a 22-quart oven can handle a turkey up to 28 pounds.
Benefits of Using a Roaster Oven
- Frees up valuable oven space during the holiday season
- Offers faster cooking times compared to traditional ovens
- Requires minimal maintenance and cleanup
Electric roaster ovens might not brown the turkey’s skin as well as a regular oven. But they’re great for cooking large poultry efficiently. Remember, they need storage space when not in use.
“Roaster ovens are reported to be more energy-efficient, offering quicker cooking times and less overall space to heat up compared to conventional ovens, according to Oster.com.”
Preparing Your Turkey for the Roaster
Getting your turkey ready for the roaster is crucial for a juicy, tasty dish. Make sure you follow these important steps:
- Thaw the turkey well. It takes 24 hours in the fridge for every four to five pounds. Or, thaw it in cold water for 30 minutes per pound, changing the water every 30 minutes.
- Take out the giblets and neck. You can use them to make tasty gravy.
- Stuff the cavity with apple, onion, and celery for extra flavor.
- Put butter under the turkey’s skin. This makes the skin golden and crispy.
- Make a browning sauce with melted butter, Kitchen Bouquet, and paprika. Brush it all over the turkey for a nice color.
- Season the turkey with salt, pepper, and your favorite herbs or spices.
Follow these steps to get your turkey ready for the roaster. It will be perfect for your holiday feast.
| Turkey Weight | Cooking Time | Internal Temperature |
|---|---|---|
| 10-18 lbs | 3 to 3 1/2 hours | 180°F (thigh), 165°F (breast) |
| 24-29 lbs | 4 1/2 to 5 hours | 180°F (thigh), 165°F (breast) |
For a perfectly cooked turkey, aim for 180°F in the thigh and 165°F in the breast. Enjoy your delicious roasted turkey!
Essential Turkey Roaster Oven Equipment
Preparing a Thanksgiving turkey in a roaster oven needs the right tools and accessories. This ensures a flawless cooking process. Let’s look at the must-have items for your turkey roasting equipment.
Recommended Roaster Models
The Oster 22-Quart Roaster Oven with Self-Basting Lid is a favorite among home cooks. It can hold a 20-pound turkey and keeps the meat moist with its self-basting lid. The Oster roaster oven cooks evenly and efficiently, reaching up to 500°F.
Must-Have Accessories
- Roasting rack: A sturdy roasting rack allows air to circulate beneath the turkey, promoting even cooking and browning.
- Removable serving dishes: Look for a roaster oven with included serving dishes that can be easily transferred from the oven to the table.
Temperature Monitoring Tools
It’s important to monitor the turkey’s internal temperature for perfect doneness. The Taylor Precision Products Digital Cooking Thermometer and the ThermoWorks ChefAlarm are great options. These probe-type meat thermometers let you track the temperature without opening the roaster oven lid.
With the right turkey roasting equipment, you’ll be on your way to a delicious and perfectly cooked Thanksgiving feast.
Perfect Temperature Settings and Timing
Getting the temperature and timing right is key for a moist, juicy turkey in a roaster oven. Start by preheating your oven to 400°F (204°C). Then, put your turkey in and cook at 400°F (204°C) for the first hour.
After the first hour, lower the temperature to 350°F (177°C). Keep cooking until the turkey’s thigh reaches 170°F (77°C). The cooking time varies by turkey size:
- 12-13 lbs turkey: 1¾ hours
- 14-24 lbs turkey: 2-3 hours
- 25-28 lbs turkey: 3½-4 hours
The cooking time can change based on turkey size and oven accuracy. Always check with a meat thermometer to ensure the turkey is cooked right.
| Turkey Size | Cooking Time |
|---|---|
| 12-13 lbs | 1¾ hours |
| 14-24 lbs | 2-3 hours |
| 25-28 lbs | 3½-4 hours |
The turkey is ready when the thigh’s internal temperature hits 170°F (77°C). This ensures your how long to cook turkey in roaster and turkey cooking time are spot on. You’ll get a moist, delicious turkey for your holiday meal.
Seasoning and Flavoring Techniques
Improving your turkey’s taste is more than just seasoning the outside. Discover a world of flavors by using smart seasoning and flavoring methods. Begin by making a tasty herb butter to brush your turkey while it cooks.
Herb Butter Preparation
Mix softened butter with fresh herbs like thyme, rosemary, and sage. Rub the herb butter under the turkey’s skin and on its surface. This adds a rich turkey seasoning that everyone will love.
Cavity Stuffing Options
- Put aromatic vegetables like onion, celery, and carrots inside the turkey. This boosts the turkey stuffing taste and keeps the meat juicy.
- For a lighter taste, fill the cavity with fresh citrus fruits like oranges, lemons, or limes. The citrus juices will add a subtle herb butter-like richness.
Brining Methods
Brining makes your turkey moist and flavorful. Mix water, salt, and your favorite herbs and spices for the brine. Soak the turkey in the brine for 12 to 24 hours, turning it now and then. This method ensures a juicy, tasty turkey that will wow your guests.
“The key to a truly outstanding turkey is in the preparation. Experiment with different seasoning techniques to find the flavors that best suit your taste buds.”
Step-by-Step Cooking Process
Preparing a turkey in an electric roaster oven is easy and ensures a moist, flavorful result. Start by placing the seasoned turkey on the roasting rack inside the preheated roaster. For extra juiciness and a tasty gravy, add chicken stock to the roasting pan.
Put a probe thermometer into the turkey’s thickest thigh to check the temperature. Set the roaster to 400°F and cook the turkey for the first hour. Then, lower the temperature to 350°F and roast until the internal temperature hits 165°F. This is the USDA’s food safety recommendation.
- Preheat the electric roaster oven to 400°F.
- Place the seasoned turkey on the roasting rack inside the preheated roaster.
- Add chicken stock to the roasting pan for extra juiciness and gravy.
- Insert a probe thermometer into the thickest part of the turkey’s thigh.
- Cook the turkey at 400°F for the first hour.
- Reduce the temperature to 350°F and continue roasting until the internal temperature reaches 165°F.
- Avoid lifting the lid during cooking to maintain the heat and ensure even cooking.
- Once the turkey is cooked, remove it from the roaster and tent with foil.
- Let the turkey rest for 20 minutes before carving to allow the juices to redistribute.
By following this step-by-step guide, you can cook a delicious turkey in your electric roaster oven. It will be moist, flavorful, and safe to eat.

Achieving Golden Brown Skin
For a visually appealing and mouthwatering turkey, achieving that perfect golden-brown skin is key. Roaster ovens are great for even heat and self-basting. But, they can make it hard to get a crispy, caramelized exterior. With a few strategic techniques, you can get that coveted crispy turkey skin.
Browning Sauce Applications
One effective way to enhance the skin’s color and crispness is by using a simple browning sauce mixture. Mix melted butter with a few teaspoons of Kitchen Bouquet, a savory browning and seasoning sauce. Brush this flavorful mixture over the turkey’s surface before cooking, and watch as it transforms into a beautiful golden-brown hue.
Butter Basting Techniques
Another trick to achieving crispy, golden-brown skin is to baste the turkey with melted butter during the cooking process. As the butter interacts with the turkey’s natural juices and the high heat, it helps to create a delectable, crunchy crust. Be sure to baste the turkey regularly throughout the cooking time for maximum effect.
For an even crispier finish, consider removing the turkey from the roaster oven about 30 minutes before it’s fully cooked and transferring it to a preheated 350°F conventional oven. This final blast of dry heat can help lock in that sought-after golden-brown color and texture.
By mastering these browning techniques, you can elevate your turkey to new heights. Transform the skin into a visually stunning and deliciously crispy masterpiece. Impress your guests with a bird that not only tastes amazing but also looks like it came straight from the pages of a culinary magazine.
Common Mistakes to Avoid
When using an electric turkey roaster oven, it’s key to avoid a few common mistakes. These can affect the quality and texture of your roasted turkey. Don’t use oven bags, as they might melt in the roaster’s intense heat. Also, avoid overcrowding the roaster or blocking air circulation, which can cause uneven cooking.
Opening the lid too often is another mistake. It lets out valuable heat and makes cooking take longer. Instead, resist the urge to peek and keep the lid closed as much as possible. Also, don’t just rely on cooking times without checking the turkey’s internal temperature. Always use a reliable meat thermometer to ensure your turkey reaches the safe internal temperature of 165°F.
The final crucial step is to let the turkey rest for at least 20 minutes before carving. This resting period allows the juices to redistribute, making the turkey moist and tender. By avoiding these common roasting errors, you’ll be well on your way to achieving a delicious and perfectly cooked turkey every time.
- Avoid using oven bags in electric roasters as they may melt.
- Don’t overcrowd the roaster or block air circulation.
- Refrain from frequently opening the lid, which releases heat and extends cooking time.
- Avoid relying solely on cooking times without checking internal temperature.
- Don’t forget to let the turkey rest before carving to retain juices.

Tips for Moisture and Tenderness
Making a juicy, moist turkey is every home cook’s dream. With a few easy tips, you can make sure your juicy turkey is tender and full of flavor every time.
- Use the self-basting lid if your roaster oven has it. It keeps the moist turkey tips in while cooking.
- Put a few cups of chicken stock or broth in the roaster. It adds moisture and flavor, preventing the turkey from drying out.
- Put slices of butter under the turkey’s skin. The butter will melt and baste the turkey as it cooks.
- Brining the turkey before cooking is a good idea. It adds moisture and boosts the flavor.
- Use a meat thermometer to check the turkey’s internal temperature. This prevents overcooking, which can make the turkey dry and tough.
- Let the turkey rest for 20-30 minutes after cooking. This lets the juices spread evenly, making the turkey juicier and more tender.
- For the white meat, cook until the breast reaches 165°F. This stops the breasts from becoming dry and stringy.
By following these tips, you’ll make a juicy turkey with moist turkey tips that everyone will love.
| Tip | Benefit |
|---|---|
| Use self-basting lid | Keeps turkey moist during cooking |
| Add chicken stock | Prevents drying out |
| Place butter under skin | Basts the turkey as it cooks |
| Brine the turkey | Enhances moisture and flavor |
| Use meat thermometer | Avoids overcooking and dryness |
| Let it rest | Allows juices to redistribute for tenderness |
| Cook white meat to 165°F | Prevents dry, stringy texture |
“The key to a truly succulent, juicy turkey is in the details. With a few simple tricks, you can elevate your roasted bird to new heights of flavor and tenderness.”
Storing and Cleaning Your Turkey Roaster Oven
Keeping your turkey roaster oven in good shape is key. After the Thanksgiving feast, clean and store it right. This will help it last longer and work better.
First, let the roaster cool down completely. This step prevents burns and damage to the electrical parts. After it cools, take out the insert and rack. Wash them with warm, soapy water. Don’t soak the whole roaster in water to avoid harming the electrical parts.
To clean the inside, just wipe it with a damp cloth. For tough stains, use a mild detergent. But make sure to dry it well before putting everything back together. Store the roaster in a cool, dry place, covered, to keep it safe.
Proper roaster oven maintenance and cleaning electric roaster methods will ensure that your trusty appliance remains in top condition for years to come, ready to deliver delicious roasted turkeys and more for all your special occasions.
| Cleaning Tip | Benefit |
|---|---|
| Allow the roaster to cool completely before cleaning | Prevents burns and damage to electrical components |
| Remove and wash the removable insert and rack | Ensures thorough cleaning of all parts |
| Wipe the interior with a damp cloth | Removes any leftover food or grease without submerging the roaster |
| Use a mild detergent for stubborn stains | Effectively cleans the roaster without damaging the surface |
| Dry the roaster thoroughly before storing | Prevents moisture buildup and potential damage during storage |
By following these simple steps, you can keep your turkey roaster oven in great shape. It will be ready to make delicious meals for many years.
Conclusion
Electric turkey roasters make holiday meals easier. They save oven space and cook turkeys quickly. This makes your holiday cooking smoother.
These appliances keep the temperature steady and can handle big turkeys. This means your turkey will always be juicy and perfectly cooked.
You might need to change how you brown your turkey a bit. But the good points of using a roaster oven usually outweigh the small downsides. They come in many sizes and shapes to fit your kitchen and cooking style.
Whether you’re cooking for a big family or just want to use your oven for other dishes, a good turkey roaster oven is a big help. With the right prep, seasoning, and temperature control, you’ll get great results. These appliances make holiday cooking easier and more efficient.

